Connect and check Outlook
Connect your own mailbox, verify reading and sender selection, and confirm a filed client email.
Source reviewed Product documentation
Before you begin
Open BeforeMay Clients in the correct practice and choose Email. Each colleague connects their own Outlook mailbox. Have access to the Microsoft account you intend to use; Microsoft sign-in to BeforeMay and consent to use the mailbox are separate steps.
You need an Owner or Admin to enable reading for a practice that has not enabled it. A Member can then connect their own mailbox. If your Microsoft organisation requires administrator approval, resolve the approval shown by Microsoft before treating consent as complete.
1. Check the practice's reading setting
If Connect Outlook to get started is offered with the practice's reading notice, read the notice before continuing. An Owner or Admin can turn reading on here and proceed to Microsoft consent. A Member is shown who can enable it.
This is a shared practice setting. It does not connect every colleague's mailbox, and it does not enable automatic client filing. If reading is already enabled, proceed to connecting your own account.
2. Connect the intended Microsoft account
Choose Connect Outlook to get started, or Reconnect Outlook / Allow reading when the screen offers one of those instead. Allow the site's popup if your browser blocks it. Select the intended Microsoft account and complete the consent screen. Return to the original BeforeMay tab and read the result.
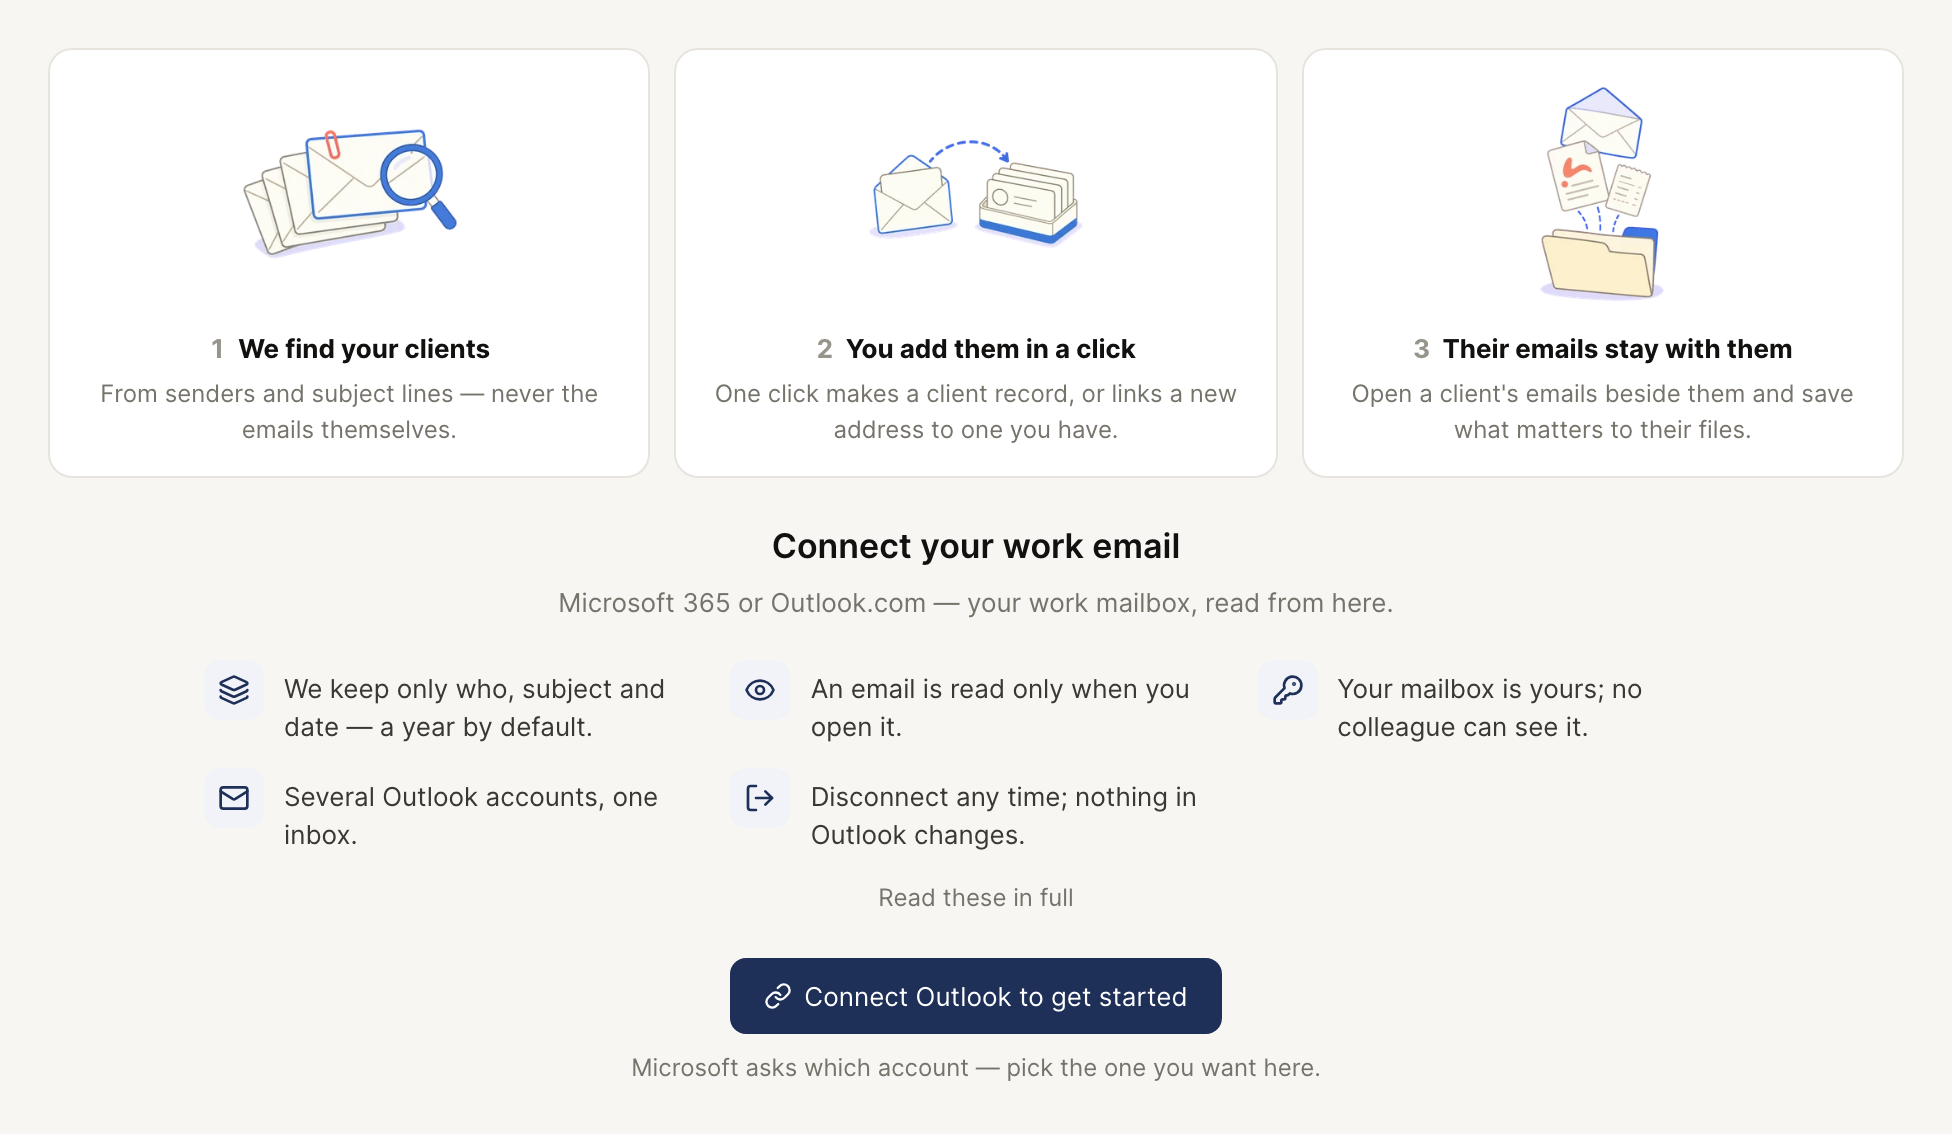
Check: BeforeMay reports the account as connected and the Email view moves past the connection screen. Closing the popup, cancelling consent, or seeing an error does not complete the connection.
3. Confirm the mailbox and sender
Open the mailbox menu and confirm the connected address. If several accounts are connected, their mail is shown in one list. A new email lets you choose its sender; a reply retains the mailbox the original email arrived in.
The most recently connected working mailbox is the default for BeforeMay's chase emails and invitations. Connecting a second address can change that default. Check the sender before issuing a client request.
Check: the intended account is listed without a reconnect warning, and the address used for the communication is the one you expect. An account connected only for sending still needs reading consent for the Email view.
4. Check reading with an existing message
Choose a date range that contains a known message, let the list load, then open that message. Confirm its sender, subject, date and body. The first list or an empty date window alone does not establish whether the connection failed.
The list is built from mailbox headers. Opening a body reads it from Outlook; it does not automatically create a client file. A suggested client match also needs your judgement before you use it.
5. File one message to the correct client
Choose an existing message you intend to retain as a client record. Confirm the matched client, then use Save to files, or Save attachments if you only need the attachments. Check the result and open that client's Files to confirm the intended file is present and readable.
If you are learning, use an example message and client intended for testing. Saving it writes a client record. You can confirm a connection by reading an existing message without sending a new email.
Check: the file is on the intended client, rather than only visible in the mailbox. In Workpapers, bringing client mail into a case is a separate evidence-import action; follow Outlook and client mail.
6. Decide whether to enable automatic filing
Automatic filing is optional and off by default. In BeforeMay Clients, Settings → Email filing describes the practice-wide setting. An Owner or Admin can enable it after checking client email addresses and the team's connected mailboxes. It saves matching new client mail from connected mailboxes with reading allowed; it does not send messages or backfill mail received before the setting was enabled.
Manual filing and automatic filing have different completion checks. A successful manual save does not show that the automatic setting is enabled.
When a step does not complete
| Symptom | Check | How to continue |
|---|---|---|
| Popup blocked or Connection cancelled | The browser opened and kept the consent window available | Allow popups and start the connection again |
| Microsoft asks for administrator approval | The organisation's consent requirements | Resolve that request with your Microsoft administrator |
| Reconnect or Allow reading | The displayed account, connection state and reading permission | Use the offered control and finish consent |
| No messages in the list | Selected date range and loading/sync state | Use a range containing a known message, then refresh |
| Wrong default sender | The most recently connected working account | Choose the intended sender where offered before sending |
| File is on the wrong client | The client match and filing result | Resolve the filed record before repeating the action |
Expected result: the intended mailbox is connected, a known message can be read, and any message you chose to file appears on the correct client. Sending is a separate action; connection success alone is not email-delivery evidence.
Next: Outlook storage and disconnecting, or return to practice setup.